
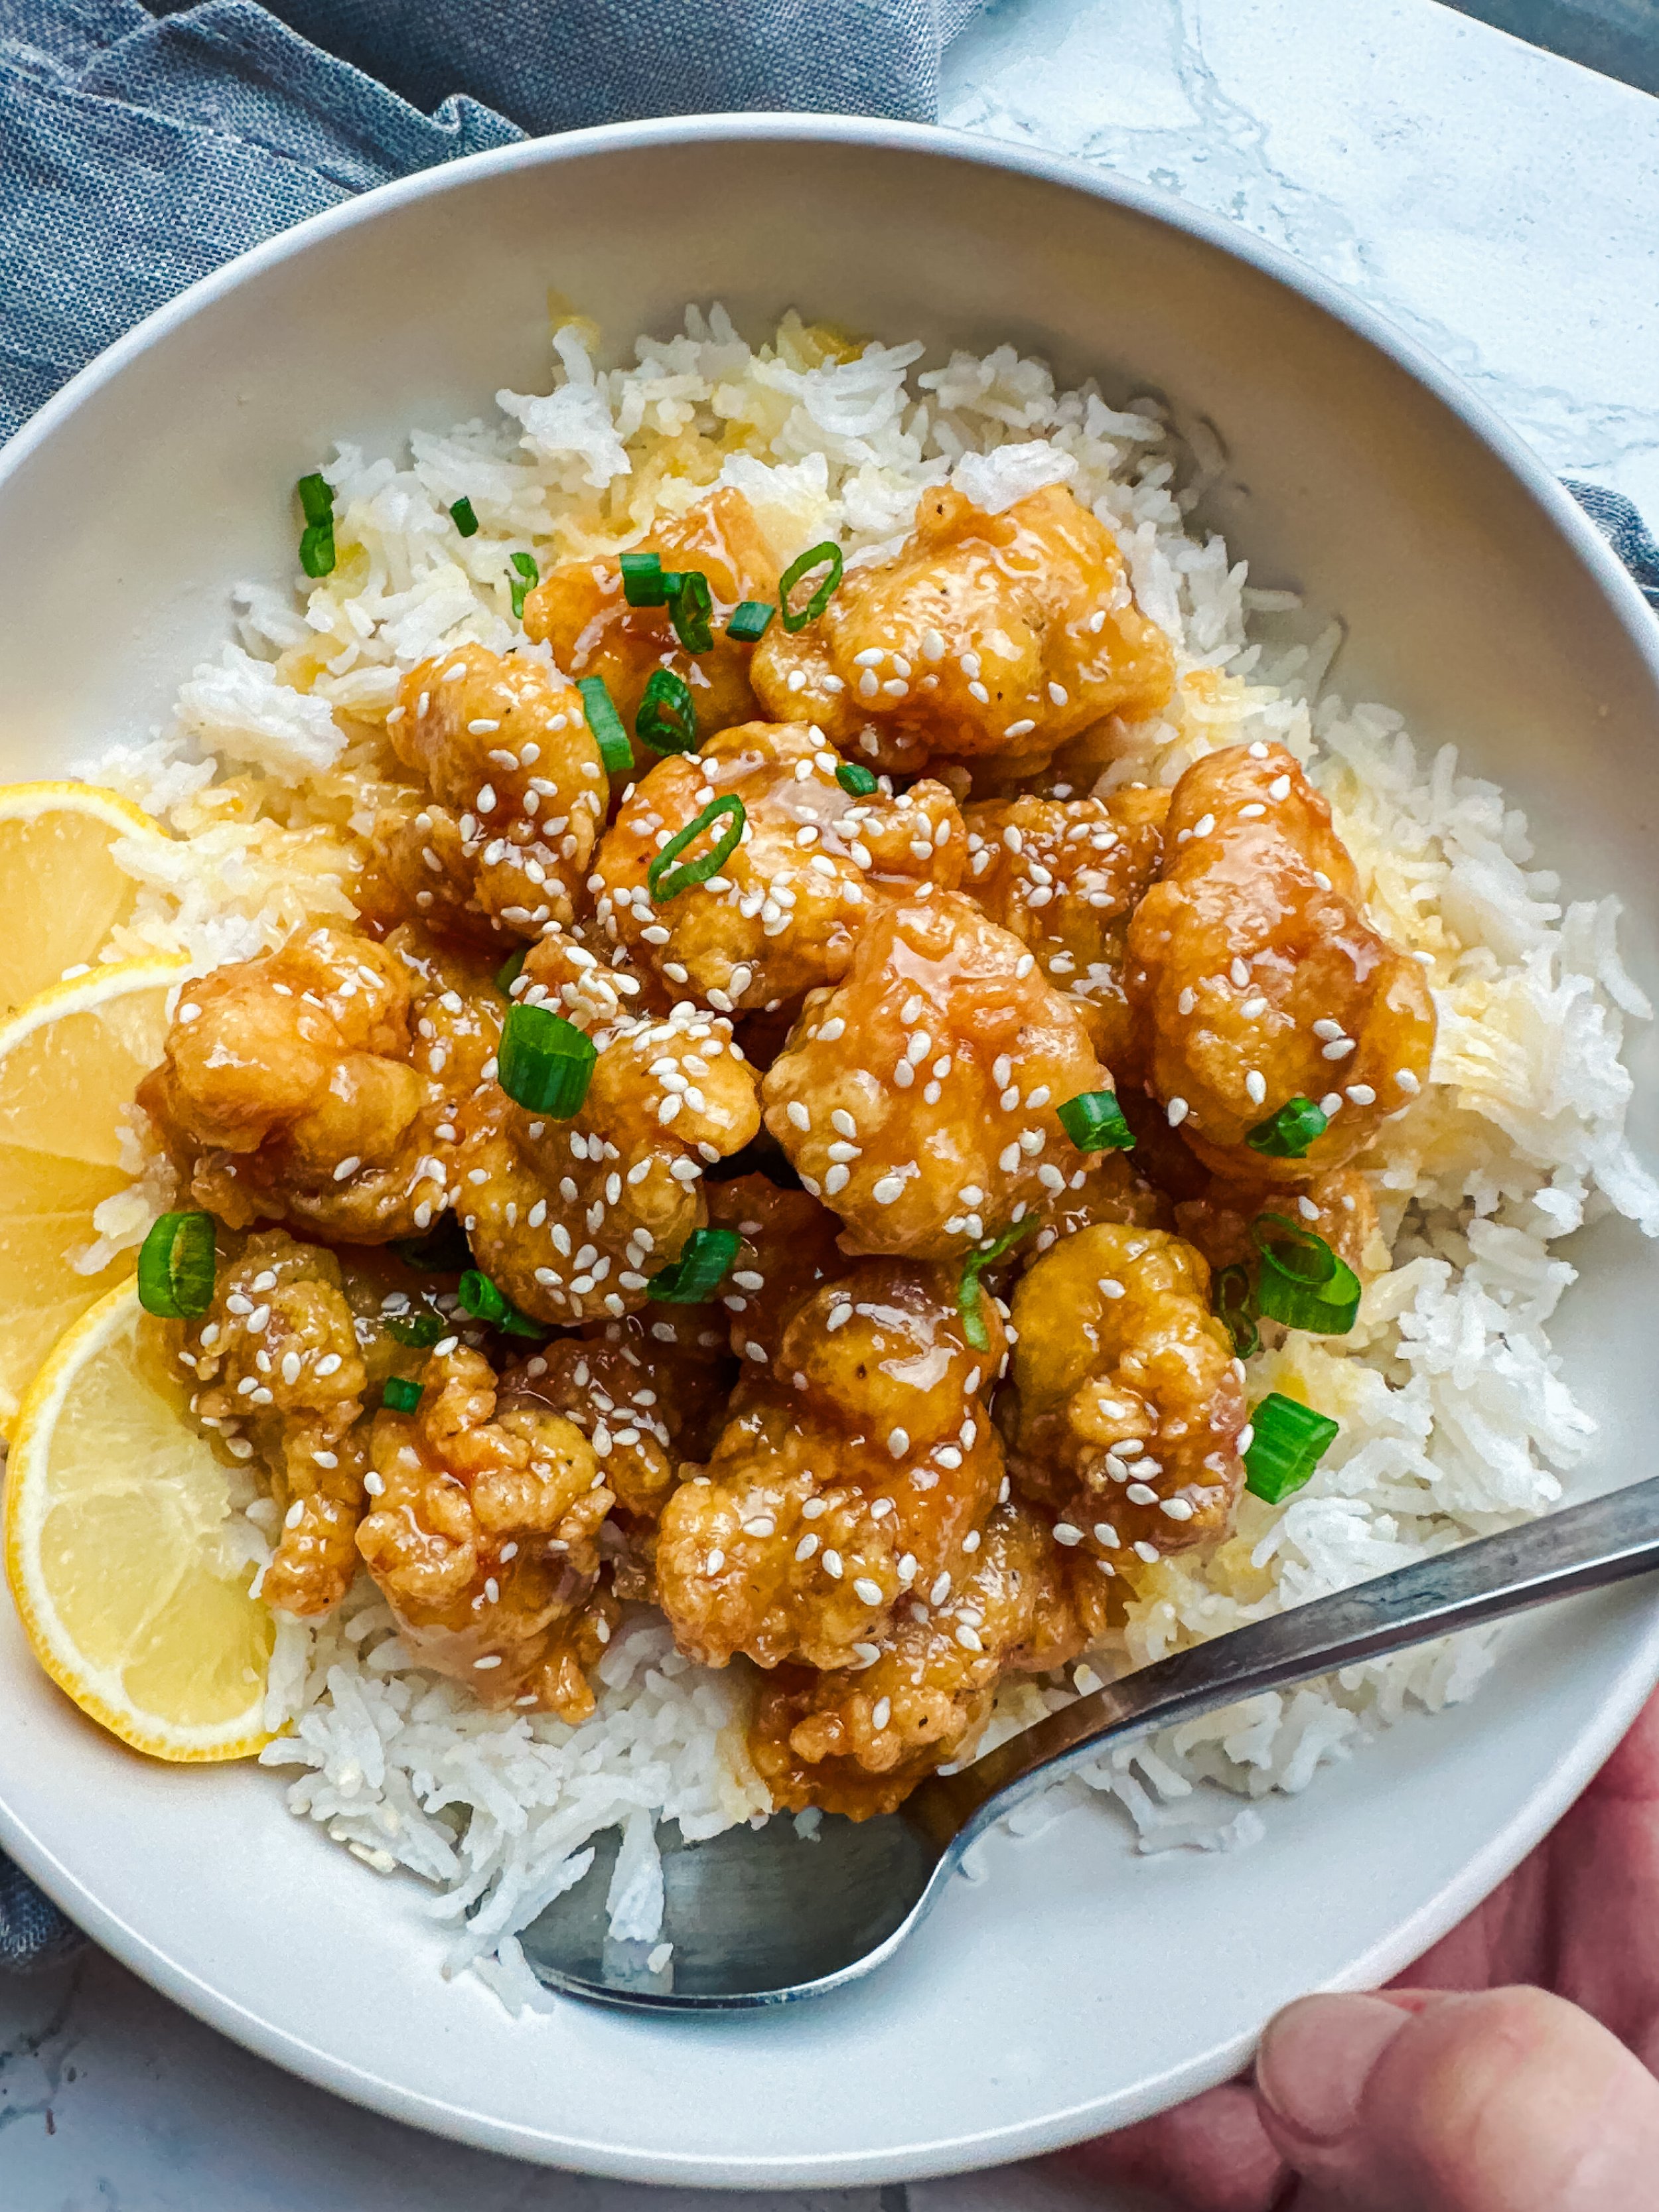
Gluten Free Crispy Chinese Lemon Chicken!
This recipe is SPECTACULAR! It was the first of the Chinese takeout takeout series that I created..and it is the reason I will go on to create a whole library of recipes in this category. I spent a week testing out different gluten free breading options until I nailed down the best of the best of the best!
This recipe that I landed on is unbelievable. It tastes exactly like the breaded chicken from a good Chinese restaurant. Even without sauce- the flavor and the texture is spot on and delicious.
The sauce I made with just as much care. I am not wild about a lot of the lemon chicken recipes I have seen posted as I find they have either way too much lemon, or way too much sugar. After a lot of trial and error I found the perfect balance of sweet and sour & then I further augmented the flavor with a hint of fresh ginger. It rounds out the flavor in the best way possible. But it doesn’t dominate by any means. Give it a try!! You’ll see what I mean :)

How to make this Chinese Lemon Chicken Sugar Free:
To make the sauce sugar free: Swap out the regular sugar/ honey for sugar free honey + add 1/4 Tsp of Liquid Stevia or Liquid Monkfruit.
Let’s talk about the sweetener options: Keto honey really isn’t a known ingredient…YET. I did a deep search on Amazon for it and since I found the first brand awhile back, a few more have come on the scent. My current favorites are:
The Nature’s Hollow brand can cause a little bit of digestive upset for some people, but not everyone. The other two are really gentle on your stomach. All 3 brands will work great in this recipe. Make sure you don’t skip the liquid stevia/monk fruit extract, either as it will bring the sweetness to the perfect level. Combining sugar free sweeteners really helps to create a more traditional balanced sweetness that your tastebuds expect.
How to make it SOY FREE:
Simply swap out soy sauce for liquid aminos! :) Easy peasy.
The look/color of these photos are a little different as I took this shot with my phone camera vs professional camera! I loved how they all turned out so figured I would just post both!
Flour Options:
Better Batter Gluten Free Orginal Blend. This flour blend continues to amaze me. It can do so many things better than most other blends that I have tried. I cant live without for my bread recipes & have found it works exceptionally well in cookies too! .
What if you cant get your hands on it? This may be the case if you live outside the US. My friend Nichole from Gluten Free on a Shoestring has figured out a mock recipe for better batter. Her version should work great in this recipe! The owner (Naomi) of better batter has confirmed that the mix is similar to the official version.
While I did not test it out- I think that King Arthur Measure for Measure gluten free flour would be worth trying with 1/8 tsp of xanthan or guar gum added!
Feel free to experiment with other brands and please come back and let me know how it turned out!!

Gluten Free Asian Lemon Chicken

Ingredients
- 1/2 Cup Tapioca or Potato Starch (corn starch will work too)
- 1/2 Cup Better Batter Gluten Free Flour Original Blend
- 2 Tsp Potato Flour (optional but highly recommended!)
- 1/2 Tsp Salt
- 1-2 Large Eggs (Or 3-6 Tbsp of 'Just Egg' replacement)
- Oil for frying: Canola, Vegetable, Coconut or Spectrum Shortening
- 4-5 Chicken Breast Or Thighs (boneless/skinless) *If your chicken breast are large you may only need 3.
- 1/2 Tsp Salt
- 1/4 Tsp Pepper
- 1/4 Cup + 1 Tbsp Lemon Juice
- 1/2 Cup Organic Cane Sugar Or Honey. (See note below on how to make sugar free!)
- 1/2 Cup Water Or Chicken Broth
- 1/4 Tsp Fresh Grated Ginger
- 1 Tsp Gluten Free Soy Sauce
- 1 Tsp Starch (Tapioca, potato or Corn starch)
- Sesame Seeds to sprinkle on top (optional)
Instructions
- Add to to a heavy duty pot several inches of mild flavored oil. Place heat on medium and allow it to slowly heat up while preparing the chicken. The Ideal temperature range is 375-380 degrees.
- Cut chicken into bite sized pieces and toss it with salt and pepper.
- Prepare the breading. Whisk 1-2 eggs in one bowl. In a second bowl combine the Starch, gluten free all purpose flour, potato flour, salt & pepper.
- Double bread the chicken. First toss in the flour mixture, then coat the chicken with the eggs making sure to allow excess to drip off. Then place the chicken again into the flour mixture fully covering it. Set on a plate and allow it to sit for a few minutes. If theres extra breading- feel free to toss the chicken in once more- especially if there are any wet spots from the egg.
- Fry the chicken: Depending on the size of your pan- fry in 1/3 to 1/2 at a time. Fry for 8-9 minutes until lightly golden brown and cooked through. Place on a plate with a paper towel so that the excess oil can drain off.
- Make the sauce: Add all sauce ingredients into a small sauce pan and simmer on medium low for 10 minutes or so until thickened whisking often.
- Toss the sauce with the chicken & serve over rice! Store leftovers in the fridge for 3-4 days.
Notes
To make the sauce sugar free: Swap out the regular sugar/ honey for sugar free honey + add 1/4 Tsp of Liquid Stevia or Liquid Monkfruit. See the post for suggested brands.
While it is absolutely not necessary- I wanted to mention that I use a an electric burner that allows me to set the exact temperature! It makes frying to easy as I know it will heat to the temperature I need and remain stable. I highly recommend it :). Of course some people like to buy a fryer but I prefer the electric burner as it is far more versatile in use.