
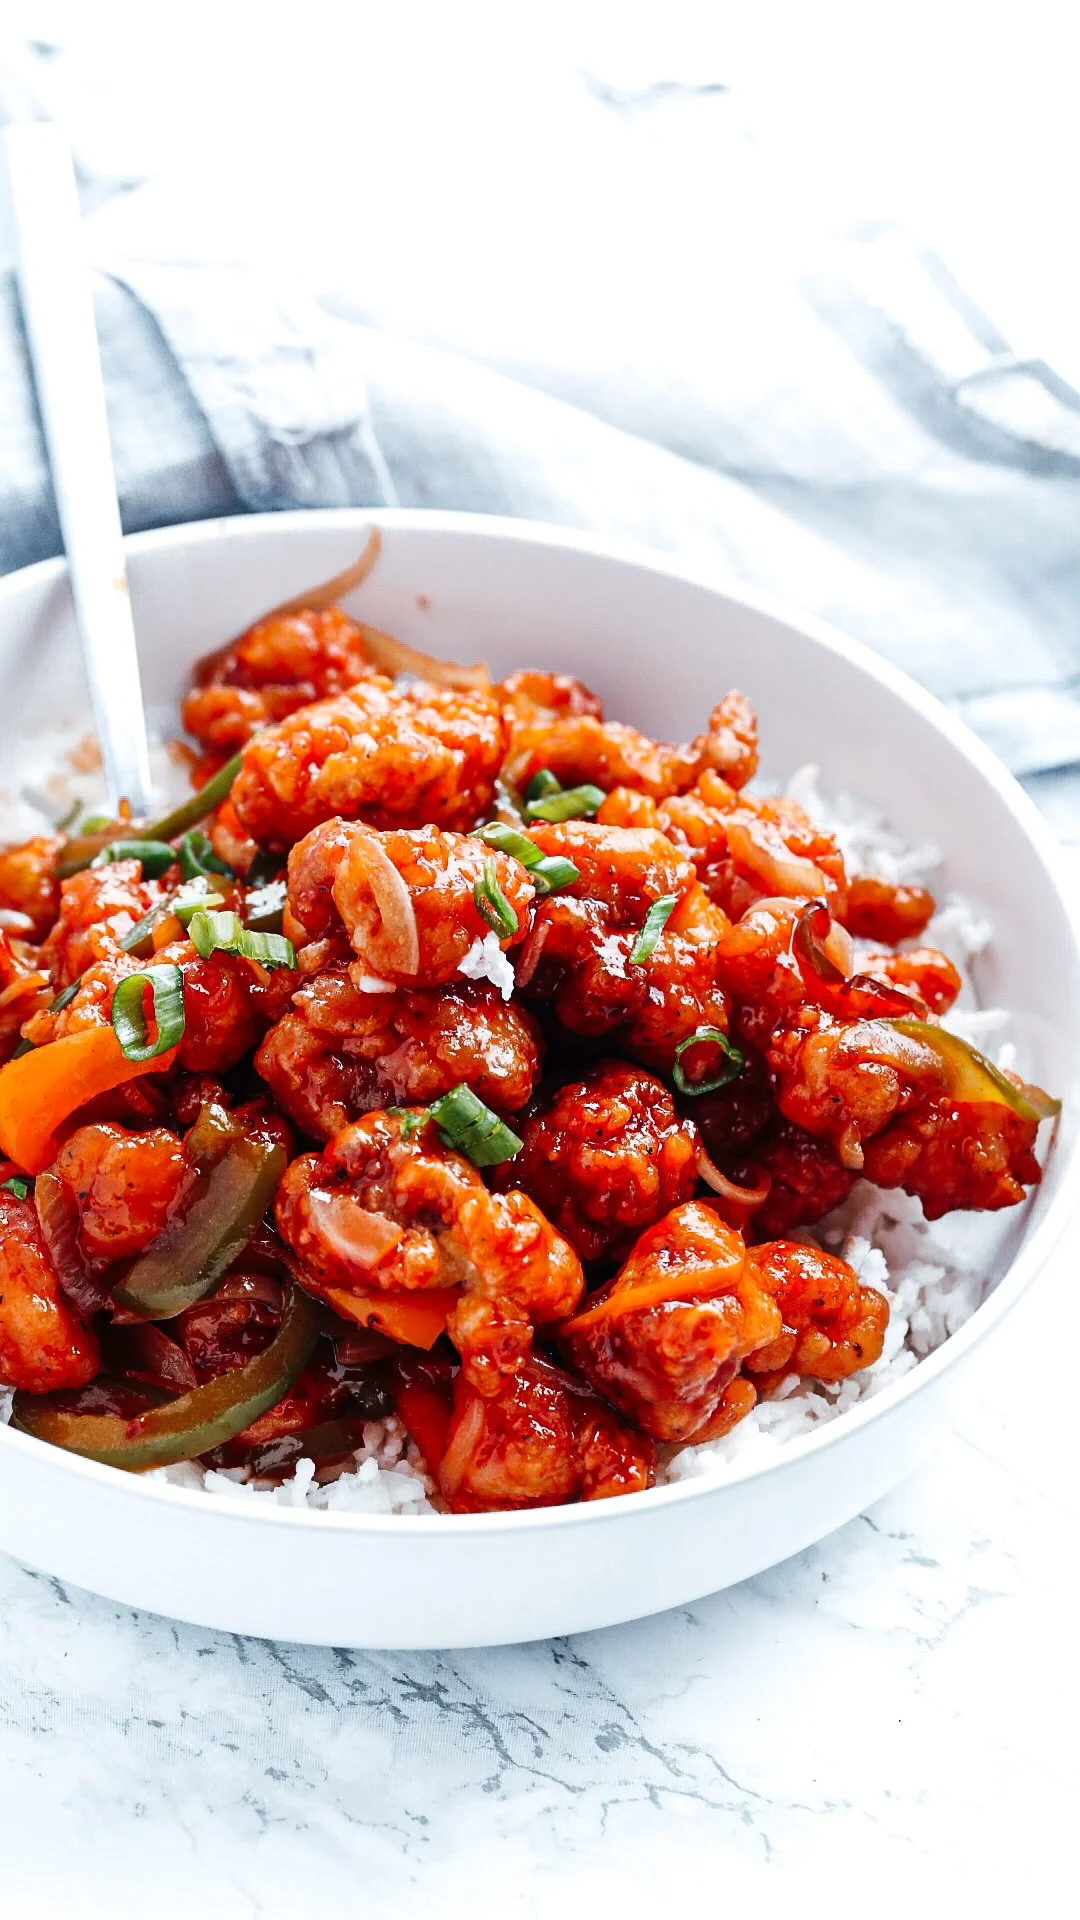
Gluten Free Crispy Sweet & Sour Chicken
IF you have made any of the other Chinese fakeout takeout recipes new to the club- then you know what to expect :) Absolutely perfect crispy Chinese style breaded gluten free chicken with sauces that taste just like your favorite Chinese restaurant- if not better. This one is no different.
Funny story though.. when I made this recipe- I noticed a lot of recipes online included red food coloring. (It is completely optional and unnecessary ! Sweet and sour sauce from Chinese restaurants tends to be bright red.) But I digress.. I grabbed a bottle with a red lid and started dropping it into the otherwise finished sauce only to get hit in the face with an aggressive amount of peppermint. The smells of Vinegar and pineapple DO NOT MESH WITH Peppermint!!!! It was disgusting. I was SO MAD haha! I had mistaken the red food coloring bottle for peppermint extract. Needless to say the whole thing was quickly dumped down the drain and I had to start over!
My sauce is a TINY bit different than others that I have seen due to the fact that I added a hint of fresh ginger. It tastes incredible with the pineapple and I find that it really does a beautiful job rounding out the flavor of any sauce with acid/vinegar. It just gives it the perfect Unami flavor. Its become my little trick. If you add just a little the dish doesn’t necessarily taste like ginger- it just balances the flavors.
A great trick with ginger to make it last forever: FREEZE IT! That’s right..stick it straight in the freezer and then pull it out as needed to cut off as much as you want to use. If you want to keep things extra easy use a handheld microplane grater on the frozen ginger. You don’t even have to worry about peeling off the skin!

How to make this recipe Sugar Free:
To make the sauce LOWER in Sugar : Swap out the regular sugar/ honey for sugar free honey + add 1/4 Tsp of Liquid Stevia or Liquid Monkfruit.
Let’s talk about the sweetener options: Keto honey really isn’t a known ingredient…YET. I did a deep search on Amazon for it and since I found the first brand awhile back, a few more have come on the scent. My current favorites are:
The Nature’s Hollow brand can cause a little bit of digestive upset for some people, but not everyone. The other two are really gentle on your stomach. All 3 brands will work great in this recipe. Make sure you don’t skip the liquid stevia/monk fruit extract, either as it will bring the sweetness to the perfect level. Combining sugar free sweeteners really helps to create a more traditional balanced sweetness that your tastebuds expect.
How to make it SOY FREE:
Simply swap out soy sauce for liquid aminos! :) Easy peasy.

Flour Options:
Better Batter Gluten Free Orginal Blend. This flour blend continues to amaze me. It can do so many things better than most other blends that I have tried. I cant live without for my bread recipes & have found it works exceptionally well in cookies too! .
What if you cant get your hands on it? This may be the case if you live outside the US. My friend Nichole from Gluten Free on a Shoestring has figured out a mock recipe for better batter. Her version should work great in this recipe! The owner (Naomi) of better batter has confirmed that the mix is similar to the official version.
Better Batter so kindly offered me a 30% off promo code to share with all of you! This can be used as often as you would like for every single purchase made directly on BetterBatter.com Use the code: BakingAngell30
While I did not test it out- I think that King Arthur Measure for Measure gluten free flour would be worth trying with 1/8 tsp of xanthan or guar gum added!
Feel free to experiment with other brands and please come back and let me know how it turned out!!
Gluten Free Crispy Sweet & Sour Chicken

Ingredients
- 3-4 Chicken Breast OR 4-5 Chicken Thighs (boneless/skinless)
- 1/2 Tsp Salt
- 1/4 Tsp Pepper
- 1/2 Cup Tapioca or Potato Starch (corn starch or arrowroot will work too)
- 1/2 Cup Better Batter Gluten Free Flour Original Blend
- 2 Tsp Potato Flour (optional but highly recommended!)
- 1/2 Tsp Baking Powder
- 1/2 Tsp Salt
- 1-2 Large Eggs (Or 3-6 Tbsp of 'Just Egg' replacement)
- 2 Bell Peppers Thinly Sliced
- 1 Medium Onion Thinly sliced
- 1 Tbsp Oil
- 1/2 cup canned pineapple juice
- 1/3 cup brown sugar
- 2 Tbsp Rice Vinegar
- 2.5 Tbsp Gluten Free Soy Sauce or Coconut Aminos
- 1/4 tsp Fresh Grated Ginger (optional but it really adds a nice depth of flavor!)
- 1/4 tsp Starch (tapioca, potato, arrowroot or corn starch)
- Natural Red Food Coloring (optional)
Instructions
- Add to to a heavy duty pot several inches of mild flavored/high heat friendly oil. Place heat on medium and allow it to slowly heat up while preparing the chicken. The Ideal temperature range is 375-380 degrees.
- Cut chicken into bite sized pieces and toss it with salt and pepper.
- Prepare the breading. Whisk 1-2 eggs in one bowl. In a second bowl combine the Starch, gluten free all purpose flour, potato flour, salt & pepper.
- Double bread the chicken. First toss in the flour mixture, then coat the chicken with the eggs making sure to allow excess to drip off. Then place the chicken again into the flour mixture fully covering it. Set on a plate and allow it to sit for a few minutes. If theres extra breading- feel free to toss the chicken in once more- especially if there are any wet spots from the egg.
- Fry the chicken: Depending on the size of your pan- fry in 1/3 to 1/2 at a time. Fry for 8-9 minutes until lightly golden brown and cooked through. Place on a plate with a paper towel so that the excess oil can drain off.
- Flash Cook The Veggies: Heat the oil over medium high heat for 5 minutes. Flash cook the veggies until just barely cooked through but still crispy for 3 minutes. Remove from heat.
- Make the sauce: Zest the orange adding it to a small sauce pan and then squeeze in the orange juice discarding of any seeds. Add all the remaining sauce ingredients to the pan and simmer on medium low for 10 minutes or so until thickened whisking often.
- Toss the sauce with the chicken and cook for a few minutes allowing the breading to absorb some sauce. Then toss in the veggies! Serve over rice - store in fridge for up to 4 days,
Notes
To make the sauce lower in sugar : Swap out the brown sugar for sugar free honey + add 1/4 Tsp of Liquid Stevia or Liquid Monkfruit. See notes in post on my favorite brands.
While it is absolutely not necessary- I wanted to mention that I use a an electric burner that allows me to set the exact temperature! It makes frying to easy as I know it will heat to the temperature I need and remain stable. I highly recommend it :). Of course some people like to buy a fryer but I prefer the electric burner as it is far more versatile in use.